 |
 |
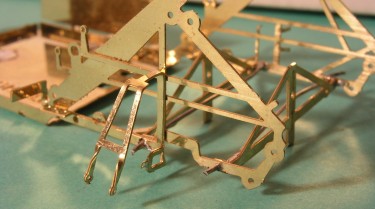
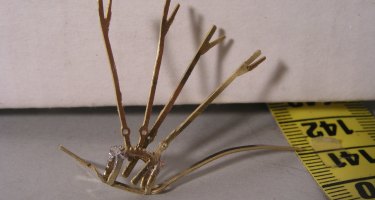
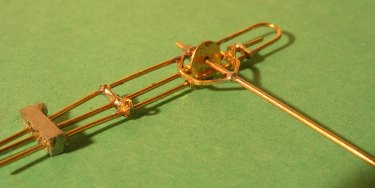
The inside frame soldered with two long pins, to be cut
after
soldering.The downends to the drawbar are twisted. |
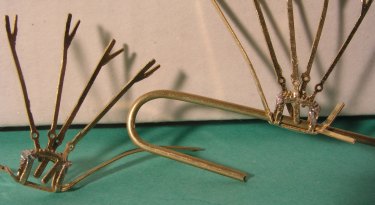
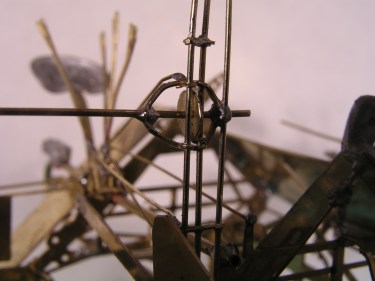
The assembled levers to the left.And testing to the U-tube
before final assembling.(The tube through the two holes.) |
 |
 |
In the middle the shelf for the lower gearbox, and in front
the
out-bent etch to be soldered to M2. |
The mainframe MF, inside frame IF and cover M1 soldered. |
 |
 |
| The VD unit. |
Toolbox, file notch in the U-tube for best gluestick. |
 |
 |
| The complete levers soldered with two pins (soft wire) |
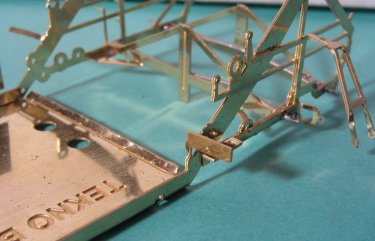
The back end support S3.In front the bent M3 |
 |
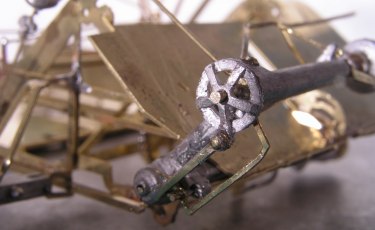 |
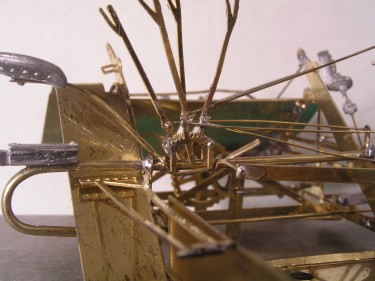
Solder this unit on bench, all etch and wires.
The three pin ends, solder them to the outbent shelf on the
mainframe MF. Then press down the gearbox to the shelf. |
Use the very small screw to fix the etch-rod to the
wheel Bu. |
 |
 |
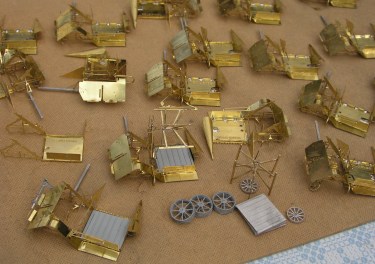
Many halfmade binders.
More pictures are coming. |
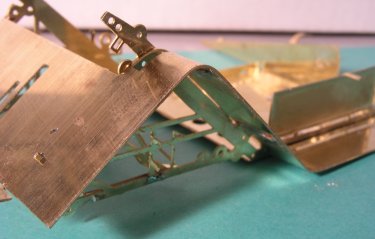
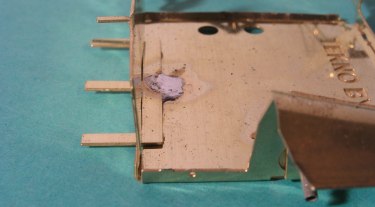
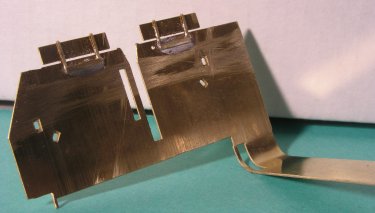
View of M1 from bottom.The square bottomholes to fit pig on
mainframe respectively N3 and N4. |
 |
 |
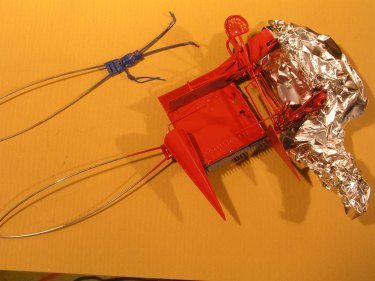
Paint left side (white) then cover carefully with tape and
alumine-folie, and brush the red. Knife and drawbar, paint
with pencil.
Note the handle made of piano-wire, connected to the two
holes in the bottom and right side wheelaxle. |
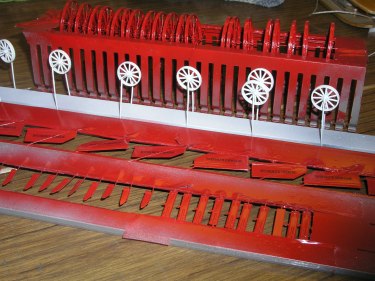
For most paintingjob make simple fixtures! In
background
painting wheels to hayraker, fixture made from cable channel
in plastic.
In front , lid to the cable channel. |